Showing posts with label hemp walls. Show all posts

Wednesday, 6 August 2014

Colorbond Window Sills

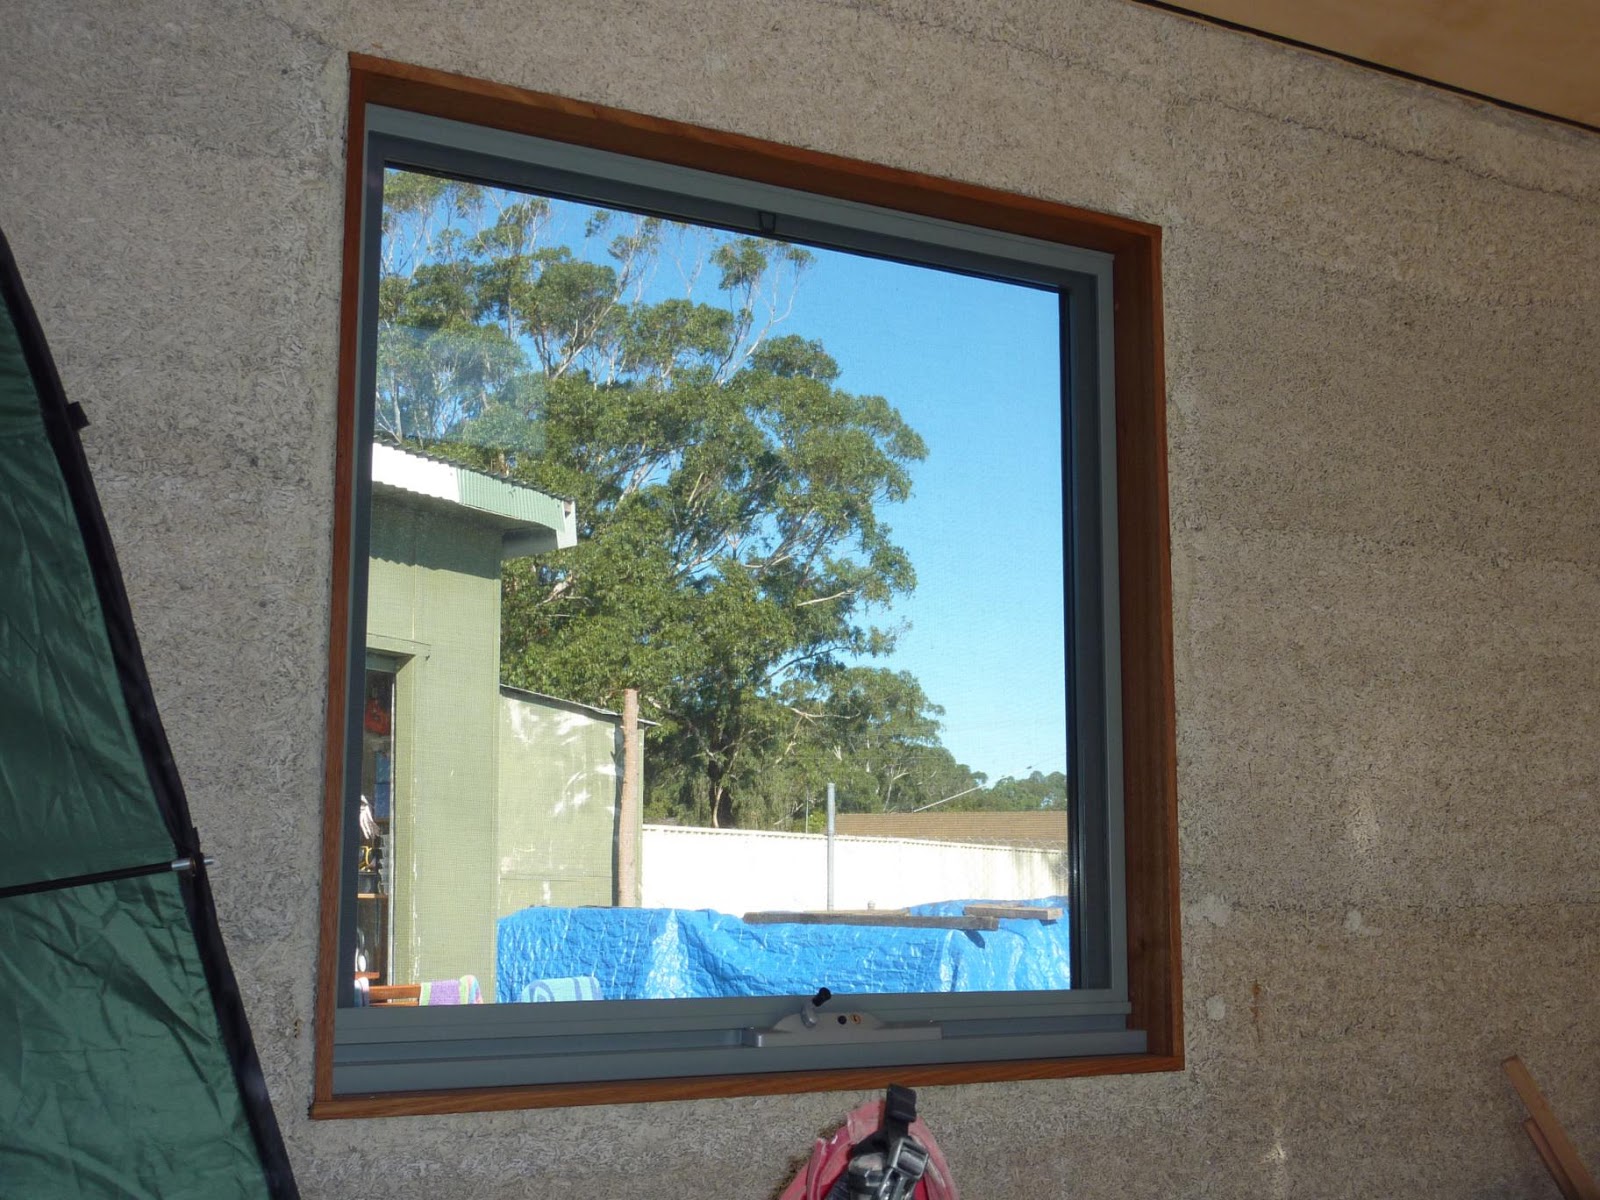
The upper windows were taped up ready for rendering, the window header was patched up and ready to go when it became apparent how silly and difficult it would be to render the small patch of hemp between the window and the upturn of the roof flashing. In fact on all other windows the wall forming the sill slopes away from the window, but the wall forming the sill under the upper windows was made flat as it was too difficult to slope the sills when the walls were being made.

Upper windows ready for rendering
Tiny section of hemp between window and roof flashing
The solution was to get out the angle grinder and cut away the hemp wall so that it sloped down from the window to the top of the roof flashing. I then carefully measured the angle, which was slightly different for each window, and ordered some Colorbond angles from Kiteleys Roofing to be made up in the same colour as the roof to slot in under the bottom of the window then go over the roof flashing. The result was a very neat finish and it saved hours of fiddly rendering. I am also very confident that it will not leak.

Hemp wall cut off with an angle grinder
Installed flashing blends seamlessly with roof
Although the outside of the house had been left untended for about a year without any problems it seems that now some birds had decided to try and make a nest in the wall. Luckily they started on a weaker spot where a spacer hole had been filled and the spacer had been over one of the timber studs, which meant the birds were stopped by the stud and did not get all the way through the wall. It just showed us we needed to hurry up with the rendering.

Bird holes in hemp walls
Brett, our renderer was caught up with other jobs, but put in a weekend of work to try and get the walls finished. Significant progress was made with render going on around three of the five upper windows.

Front pavilion completely rendered
Render around upper windows on back pavilion done
 New techniques were also tried out. The hemp making up the window header above the long kitchen window was loose and crumbly, possibly because there was a very thick lintel behind the hemp, which was therefore separated into two parts rather than being able to key in each if the sides together. Screws with plastic washers had been used to try to help the wall stay together but thus did not assist with the crumbly window header. The solution was to mix up a slurry of sand and cement and flick it on the window header, using a special tool for the purpose. The cement helped hold the wall together enough to stop it crumbling, but only covered such a small area it would not affect the breathability of the walls. Once the cement slurry had set it was much easier to patch the gaps ready for rendering. The texture created will also help provide a key for the render to adhere to.

Cement slurry flicked on window header
Holes patched ready for render
The weekend of rendering meant that we only have three walls and the front door area left and the rendering of the whole house will be done. An exciting prospect.

East wall of back pavilion
House looks finished from the back
Render finished on the western side of the house


Friday, 31 May 2013

Render Colour Chosen


We have decide to render the inside and outside of the house all one colour, to give the illusion that the solid walls are that colour all the way through, so the choice of colour will have a big impact on the look of the house. A light, but warm, yellow is the colour we are aiming for. Originally we were trying to achieve a sand colour until we realised how brown a lot of sand is.  Our light yellow is an idealised version of the colour of sand or chopped hemp fibre.

After initially dismissing the use of Builders brand oxide in 420 Yellow, we reconsidered it when compared to some paint swatches we got from the hardware store the other oxide colours we had tested were too orange or too brown. Our objection to the yellow was its intensity so we tried some very pale versions at 0.2% and 0.4% (Our earlier tests had been 1% and 2% but had been done with unreliable scales. Scales than only measure in 1g increments are not accurate enough when trying to measure a weight of 2 grams ). These tests did not give enough colour to overcome the underlying green grey tinge of the lime render mix. 

Further tests were carried out, both on the hemp wall and on the MgO  board, using 0.6% yellow, 0.8% yellow, 0.6% yellow and 0.2% sundance, and 0.6% yellow and 0.2% sandstone. These tests were measured out using a tiny tube cap as my jewellery scales ordered from e-bay had not yet arrived. Later after I received the jewellery scales, accurate to 0.01g, I found that one capful was 0.45g which when doing 1/40th of a mix was 0.2%. We have done all our render tests on the wall behind where the kitchen cupboards will go, but were running out of room, so we used a hammer and cold chisel to chip off some of the render colours we definitely were not going to use. Pleasingly the render did not pull off easily and was well adhered to the wall, but ultimately came away with minimal damage to the hemp wall underneath. 

Top centre: Chosen colour 0.8% yellow
4th from left: 0.8% yellow on MgO and Top far right wet test of same mix
The further render test colours were all close together which enabled a finer comparison. Even though the colours were close together 0.8% yellow was clearly the best. The lighter yellow (0.6%) lacked sufficient colour, but any darker that 0.8% would have been darker than the “light yellow” colour we wanted.  As it was our chosen colour was darker than the paint swatches we were comparing it to, but it was difficult to make a direct comparison between different products. We checked the 0.8% yellow render against the plywood ceiling and the hardwood window revels and door jambs and the dark grey polished concrete. It was satisfactory against all these materials. We then moved the MgO board outside to see what the render looked like in bright sunlight, and it was still satisfactory. 0.8% yellow has tentatively been chosen. This will translate to 72g of oxide per 9kg bag of render. To check that we have got the measurements correct and can replicate the colour we like we did a further test of 0.8% yellow. We have yet to see this check patch dry.

It is fortunate that we have a render colour, as on the recommendation of our neighbours we met up with John the renderer. He was experienced with a variety of renders and was keen to try a new product, the hemp lime render. We realised it was unlikely that we would be able to achieve a consistent render finish and that it was likely, without experience, that the rendering would take us a long time.  Next time we are on site we have arranged with John to do a section on the inside of one of the wardrobes, so he can see what the product is like to use and work out the finish we want.  We used offcuts of the good ply to finish the ceiling of the robe so it can be sheeted and ready for rendering.

Wardrobe ceiling added
The last two of the cavity sliding door units have been installed. One of the cavity sliders that is not supported at the opening end by a perpendicular wall was a little bit wobbly as when the top and sides were level the bottom of the opening jamb was off the ground. I will have to find some thin masonry anchors to put through the bottom side rails into the concrete floor.

Cavity sliding door units installed
 With the last of the cavity sliding door units in we were able to continue with sheeting the internal walls. I borrowed some fibro cutters from a friend, Martin who has helped out on the build on several occasions. I was amazed that the fibro cutters were easily able to cut through the 8mm MgO board. I just had a little trouble cutting on my marked line and keeping the cut straight. I will practise further with the fibro cutters before I choose my preferred method of cutting the MgO boards.

Internal walls being sheeted with MgO Board
An unusual detail that we discovered while building the walls was that one of the studs at the door opening was set in from the line of the cast hemp wall. This meant that the wall was further out than the stud. When I came to install the door jamb it all worked out very well. I am using 19mm Tassie Oak for my door jambs. I used an angle grinder to cut into the hemp wall to enable me to set the 126mm wide door jamb flush on the stud. When the wall is rendered the 10mm render will come up flush with the door jamb and instead of being a problem this will now give a neat finish.

Hemp wall cut away with angle grinder
Close up of the cut away hemp
The large awning on the north side of the main room had a dip were the two parts of the fascia board were joined. I had been reluctant and unsure how to tackle this problem. My neighbour from home, James, was in Nowra for the weekend and we  recruited him to use his building experience to help us solve this problem. After some thought and discussion the shorter end section was removed and the longer section cut and 2/3rds of it removed so that a single long piece of fascia could be used to replace the pieces removed.

Awning propped and new piece added
 First we used some props to level the remaining pieces of the fascia. It was amazing to see how much the awning had dropped and how much more movement it had in it, since we installed it in January. Further props were added and levelled where the join would be and at the far end, this enabled us to rest the long fascia board on them rather than having to try and hold it. With everything level two batten screws went in at every awning rafter and a cleat was attached to the back of the join of the fascia, which was between to rafters, rather than my previous mistake of jointing the fascia on the rafters and not using a cleat. The result was beautiful. I can look at it proudly and see that it is level. Now I can put the battens on ready for the corrugated roofing to go on. I will also go back and re level and prop the other awnings and leave the props in place until I can put some steel cable in from the awning to the rafters of the roof above, to prevent the awning drooping in the future. 

Straightened awning looking beautiful
 I am still hopeful of being being able able to negotiate an acceptable outcome to the “blue marks on the ply” problem. To avoid any miscommunication and to try and get something happening faster I am now dealing with the distributor, Gunnersons, rather than the local retail supplier I got the ply from. While we resolve this issue it seems we will get on with building the rest of the house and have to leave the main kitchen/living room, bathrooms, laundry and entry unfinished until I can get a product I can use for a ceiling.

Monday, 20 May 2013

Installing Cavity Sliding Doors

With no replacement ply arriving in time for the weekend the ceiling remains unfinished six weeks after work stopped on it.  A few phone calls to arrange some timber and work started again on site with the installation of the cavity sliding door units. I purchased the Hume Statesman cavity sliding door units from Bunnings about a year ago as I originally thought they had to be put in at the same time the frame went up. This was not the case, but the units had to be installed now so that I could sheet up the internal walls around them.

The cavity sliding door units are made up for a standard 90mm frame sheeted with plasterboard. As my internal walls are sheeted with 8mm MgO board and finished with 10mm of render I needed the door frame sections to be 10mm wider than those supplied on the units. Like the window reveals I intend to use the door frames as render stops. Having to change the door frame timber I took the opportunity to replace with with Tassie Oak hardwood to match the window reveals. I got the timber from Ison Hardware in Bridge St Nowra where they mill the timber on site, this enables me to get the non standard size of 19 x 126mm for my door closing jambs. The measurement of 126mm is made up of 90mm for the frame 8mm each side for the MgO board and 10mm each side for render. With the help of a little planing of the top of the jamb they all fitted together.

The timbers replaced it was time to install the units. The first one was not too difficult. I did a lot of levelling, the split jambs, the top jamb and closing jamb and the back of the unit, but will only be able to tell if I have done a good enough job once the doors are hung. Since I do not have the doors yet, I will only find out after the walls have been sheeted and rendered. I backed in behind the gap at the back of the unit and attached it to the frame with the framing gun. The unit was attached with screws at the top and I used brads to attach the closing jamb and to attach the cavity unit to the frame where they came into contact, taking care not to leave anything sticking into the section where the door slides.
First cavity sliding unit installed
Beautiful hardwood closing jamb
The second cavity slider unit was the difficult one as it had to be slid into a slot in the frame. There was not enough room to put it in with the top rail attached as per the instructions and the angles and small amount of space left around the door meant that the top rail could not be slid in either before or after the door. The only option was to take a small section out of the stud next to where the top rail would go, slide the top rail in sideways and attach the top rail to the cavity sliding unit after it was in place by twisting it slightly sideways to get the screws in. The stud that was cut was attached by a noggin just under the cut as well as just above it so that it was still held reasonably well even though it was cut. After the cavity sliding door unit was installed the cut stud was repaired with an extra piece attached to the side.

The awkward cavity slider unit installed
We also sanded and applied an oil finish to the timber reveals on some of the windows and one of the door jambs. We used Livos Ardvos natural wood oil. It was easy to put on with one of the pads used for edging and a fine paintbrush to fill in the corners. I was very happy with the finished colour and will do another coat of Livos oil after the walls have been rendered. I filled the screw holes in the window reveals with "Hardwood"colour wood putty, but the filled holes were very obvious as it never quite matched the variable colours of the timber.

Livos Ardvos Wood Oil
Oiled window frame
Oiled sliding door frame
A weekend of work on the build would not be complete without more render tests. After last time writing off the yellow colour  we came to the conclusion that we preferred a yellower colour to an orange or brown colour. With the existing Yellow render tests considered too dark/intense I tried some really pale versions. My new scales had not yet arrives (they were in the letterbox when I got home) so I was doing measurements using tiny cap fulls. Unfortunately there was not enough colour in these test of one and two cap fulls to 1/40th of a bang of render, to overcome the grey/green tinge of the render. So, further render test were done, including blending the Yellow and Sundance oxides together. When wet all these tests looked almost the same, so I will have to wait until they dry to see the results.

2% and 1% Yellow, 1% Sandstone, 4%, 3%, 1% and 2% Sundance oxide
Two and one cap fulls on Yellow oxide

Tuesday, 12 March 2013

Lock up and plywood ceiling installation

The excitement that we are at lock up is tempered by the knowledge that this means we are about half way through the building process. On Thursday the boys from Rylock came down from Sydney with the double glazed units for the three panel sliding doors, as the doors were too heavy to be installed with the glass in them. Unlike the windows the glaziers were on time, they put the glass in and checked all the locks and opening mechanisms on the windows and by lunchtime we were at lockup.

Glazing in progress
After lunch the 9mm BB grade Austral Ply Hoop Pine plywood arrived from Huskisson Plywood.  The ceiling in the back bedroom had the sheep's wool insulation installed and the joints between the boards painted black ready for the ply to be put up. We cut them to size and painted the edges of the ply sheets black. Where the ceiling abutted the hemp wall I routed a 9mm wide by 5mm deep channel 10 mm in from the edge and painted this channel black, this was so that when we put the 10mm of render on the walls it will come to the edge of the black channel and look like the expressed joints between the sheets, but we will have a fixed edge to render up to.

We lifted the sheets up using a panel lifter purchased from e-bay, we had to get the 16 foot lifter so that we could use it to reach the high ceiling in the main room, but the larger lifter proved a little awkward in the smaller rooms. We did not want large screw holes in the ceiling, that would be obvious even if covered with putty, so we put the ply sheets up with glue and brads using a fix out nailer. My research showed that for a timber to timber joint Bostick Ultraset SF, which is a flooring glue, would be suitable. We bought the glue in sausages and applied it with a sausage gun in a zig zag pattern to the the joists on the inside of the sheets. We put brads in at 150 centres around the edge of each sheet and at 300 centres across the rafters passing through the centres of the sheets. The sausage gun was a breeze to use compared to my stiff old caulking gun, but the flooring glue was not meant for ceilings and was a little runny and if put on too thickly or insufficiently pushed on to the joists it dripped off. The suggestion that I put it on with a 3mm v notch spreader was impossible on a ceiling and abandoned in favour of a simple zig zag pattern. The fix out nailer was fast and east to use and a great way to attach a ceiling. The holes it left were very small, but the brads held the ceiling while the glue went off.

First piece of ply held up by the panel lifter
Applying the glue with the sausage gun
Experience showed that it was best to test each ply sheet to ensure that it fit before putting the glue on, this was after one piece had to be recut after we had put the glue on the rafters and found it did not fit in. We used 9mm spaces to try to get even gaps between the sheets. In reality some of the gaps varied a little, but a 9mm gap was wide enough to hide small variations.

First ceiling done with express joints
The first ceiling done we moved onto the next room, following the same process of blocking out between the rafters where the ply joints would be, painting the blocking and rafters behind the joints black with Resene No VOC paint, putting in the sheep's wool insulation, adding a few staples where the batts did not want to stay between the joists, measuring and cutting the sheets, which was more difficult as some of the cross rafters were not straight and painting the edges of the sheets black. We left the sheets of ply unfinished hoping that the hemp walls will prevent any mould forming on the ply, which appeared to be the only problem with leaving them unfinished.

Stapling in some of the insulation
The first sheet of ply we put up in the second room did not seem to fit. Thinking we had made the hemp walls crooked I got out my angle grinder and trimmed a little off the top corner of the wall only to discover that I had cut the sheet crooked by 10mm. The only good thing was that we discovered that the walls are really strong, but could be cut using a masonry disk on an angle grinder. After this things seemed to be going better until disaster struck. Putting up the last panel for the day the cable in the panel lifter broke and the 3/4 of a sheet of ply fell down. Thankfully we were not hurt and the sheet of ply was not damaged but the panel lifter was beyond help, the broken cable being somewhere in the mechanism that could not be seen. Before I bought the panel lifter I had checked out reviews of the panel lifters on e-bay and most people were happy with them, so I was hugely disappointed that ours broke on its second day of use. Lets hope we can get a replacement.

Since we had glue on the ceiling we then tried to put up the ply sheet by hand, it was heavier and harder than expected. The sloped ceilings made it very hard to push the ply up to the higher side and trying to get the 9mm gap right and hold the ply sheet at the same proved impossible. I thought we had got it in the right place and started putting the brads in only to find out it was way out on the other side where neither of us could see. With about half the brads put in we had to remove the sheet. It was hard work putting the ply sheet down, some of the brads pulled through the sheet while a few were pulled out in the sheet. Thankfully the sheet did not break and we wiped as much of the glue as possible off the back of the sheet and off the rafters, so we could try and put the sheet up again once we have a working panel lifter.

Ceiling in the second room, up to our unexpected stop
Broken cable on the panel lifter


Tuesday, 15 January 2013

Hemping difficult locations

We had not hemped above some of the wider windows with large lintels as I was not sure how to provide extra support to the hemp above the windows as I was  not leaving a permanent form work. I eventually chose to use a wedge of wood sloping down toward the lintel to hold the hemp up and onto the wall where the lintel prevented the hemp keying in from one side of the frame to the other. This is an adaptation of the method used by Rodney Gregg on the Tasmanian hemp house, the walls he built were much thicker and so the timber pieces could be larger. Here I tried to get the timber as thin as possible using 35mm cut with a 45 degree angle and a small flat section at the bottom to attach it to the lintel. I found that the 45 degree angle made thee timber too tall and later used a 30 degree angle and found this just as effective. Extra care had to be taken to use a very thin tamper to put hemp in the 20mm gap between the timber and the form work, given that my walls are only spaced 55mm out from my frame on either side. So as not to cause a weak spot by this thin section of hemp I attached the timber pieces in several discontinuous sections above the window. 

First draft 45 degree timber section
Attached to the lintel on top of the temporary form work
We have been building the walls over weekend and so usually have a week or two gap between each time we see the walls however, over the Christmas/New Year break we spent 9 days building and got a chance to watch the walls dry out. For the first few days after the walls were cast they maintained the darker wet look, then quite suddenly took on a lighter dry look. For the pictured section of wall we also had to add in a hole in the wall for the wall mounted exhaust fan (the ceiling joists of this section were not deep enough for a ceiling mounted exhaust fan). The hole form work was made using some circles cut from OSB with ducting taped between and stuffed solid with scarp plastic packaging from the build. A little hole was cut in the ducting to take the electrical cabling for the exhaust fan. Hopefully we can leave the ducting in situ and use it for the fan.


Work done on 26 and 27 December
Dry by 3 January and hole for exhaust fan ducting
Not long before Christmas, Len, our plumber organised the Council inspection for the plumbing. The plumbing passed, no problems, but the council inspector picked up a problem with the frame. The ridge beam for the hallway was attached to just the studs and top of the door frame at either end. The inspector thought that over time the weight from the ridge beam may cause the top of the doors to sag. The answer was extra timber reinforcement. On each end of the hall I added what in effect became a timber lintel. I cut this into half the studs and made sure that it rested on a full length stud, which the door header did not. This was a difficult job in the standing frame, made more difficult on the second side I did by the need to avoid plumbing pipes and electrical cables. But my added lintels were securely held in to the board to which the ridge was attached and to the studs with, my favourite, batten screws.

Extra timber support added
As the walls have got higher we are having to lift the form work up higher, a job for which scaffolding has become a necessity.

Hemped above the kitchen window
Form work gets higher
When I drew the plans I always knew that the parapet wall above hall would be difficult to build and this proved correct. The location of the rafters meant that thee very top of the wall could only be done from the outside, which in this case was on top of the hall roof in a very small space.

Parapet wall form work in a small space
Form work right up to the rafters
Small risers were used to get closer and closer to the ceiling, then I had to work from the outside. I had to shimmy in under the the guttering and try to bend my arm at the right angle to shove and squash hemp into the last little bit of the wall.

Tight squeeze, bucket of hemp barely fitted
The most awkward possible position from which to build hemp walls

Despite the difficulty with the access for putting up the form work and the filling with hemp, the walls were well tamped and looked great. Just the spacer holes left to crawl back under to fill.


Hemped parapet wall
Inside the hallway
Other side of the photos above, showing no hint of the abutting wall
The protruding awning rafters  meant that form work had to be cut around each of rafters. This was done by measuring out the spacing and marking it on a lighter piece of timber, to avoid lifting up the heavier form work, cutting out the depth of the rafters and placing the form work up to the top of the rafters. Hemp was then placed in the form work and once the top of the rafters was reached an additional piece of form work ws added without removing the lower form work, this was so that no gap was left as the upper form work sat on top of the rafters.  

Form work cut around the awning rafters
The result on the inside was beautiful
With the skillion roofs we have lots of sloping walls to finish off to the roof line. As each rise reached the ceiling we have finished that section to the ceiling and continued along the rise. Like the other walls we have finished to the ceiling we mover the external form work up to the full height of the wall then finished the wall from the inside in two rises; the first with the internal form work up to just under the bottom of the top plate and hemp filled up and packed under the top plate and second with the form work up the the ceiling line allowing the hemp to be placed in beside and over the top of the top plate.

Formed up to the ceiling in the centre and just off the ceiling on the right
Wall fully formed up to the underside of the eaves on the outside