Three weeks after our first render test we got to see the dry colour - grey. Not a successful test. Anticipating, from the colour when wet, that it may not be the sandstone colour we were looking for I sourced some dark yellow river sand from Thomas Landscaping at Lawson and they gave me a small plastic bag of it for free to test out if we liked it. So this became render test two.
 |
| Dry Sydney sand render test on left |
 |
| Dry hemp lime render mix before sand added |
The Australian Hemp Masonry Company, who made the render mix, recommended using river sand but I first tried using Sydney sand (Beach sand) because local river sand in the Shoalhaven is a dark grey, not the colour we were after. I really liked the colour of the new dark yellow river sand, but when mixed with the render mix it got the grey/green look of the previous mix, albeit this time a bit yellower.
 |
| Yellow river sand render test showing colour of sand used |
I am yet to see the second render test dried, but am ready to give up on the hope of being able to colour the render with sand alone and will now try some oxides. AHMC advise that the hemp wall need to be wetted before the application of the render, this was a bit tricky for our first render test, but for our second render test I used a garden pressure sprayer, of the type usually used for fertiliser. It worked well giving a fine spray of water that meant it was easy to control the area that got wet and how much water was applied.
 |
| Pressure sprayer in front of render test |
Meanwhile work continued on the plywood ceiling. Despite one wall of the front bedroom not being square, we managed to do quite a good job on the ceiling.
 |
| Front bedroom ceiling finished |
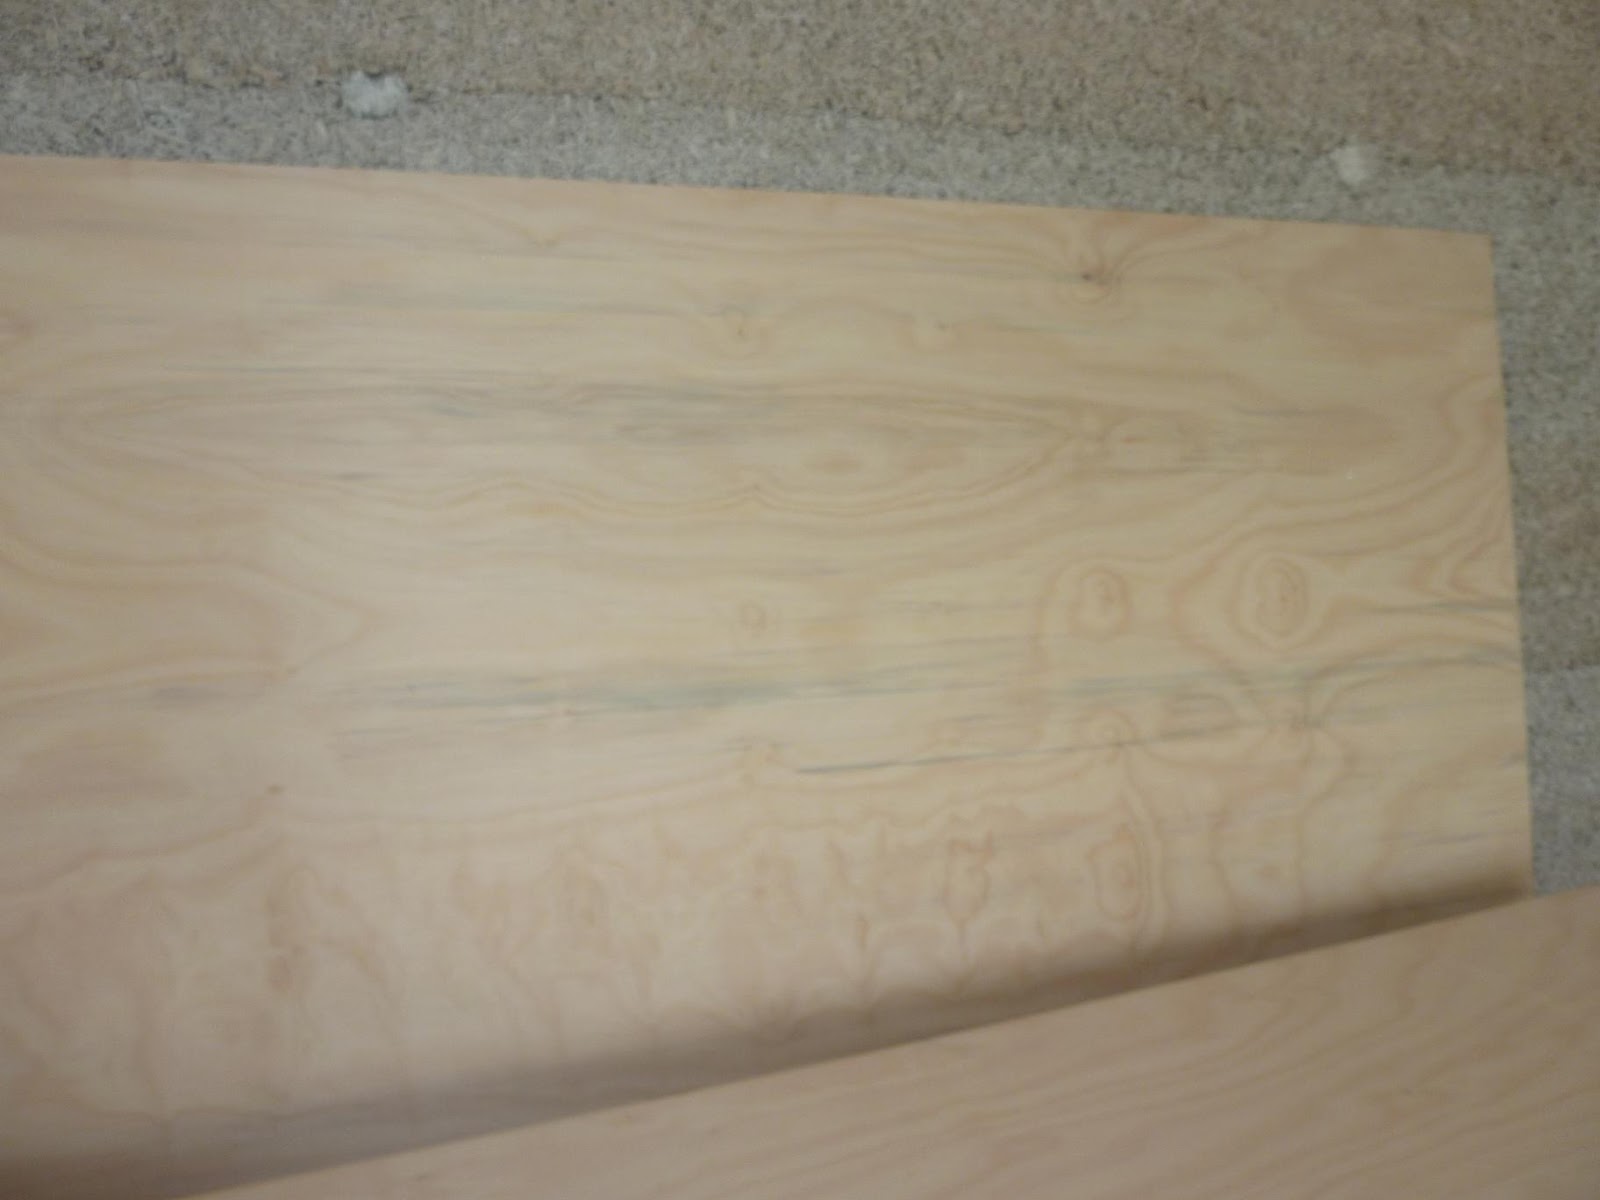
Further work was then stopped as the BB Hoop Pine ply had some horrible blue marks on it. Both on the back and face surface. We looked through the remainder of the pile and managed to find two sheets with which to finish the front bedroom. The rest of the sheets had blue marks that looked like mould, to use it on the ceiling would look like the roof had leaked and the ceiling was going mouldy, not what I paid good money for B grade ply for. 26 sheets had unacceptable blue marks on them.
 |
| Blue marks on ply |
 |
| Stack of blue marked ply |
A call was made to the supplier Huskisson Ply late on Friday, but the boss was not in, so no response. Several phone calls later, I finally caught the boss on the following Thursday. I e-mailed off pics of the blue stained ply and they will see what they can do. Between trying to get through to Huskisson Ply I also phoned the ply manufacturer Austral Ply to find out about the blue marks. It seems that the Australian Standard says that they are acceptable for a B grade ply - but who reads the standard! I thought by paying the extra for a B grade that the face would be good enough to use for the ceiling. None of the pics or info on the Austral Ply website mentioned blue marks. Apparently they can come about by the logs being too wet before they are made into ply and starting to go mouldy, while i was told that the ply production process kills the mould - this does not help the fact that if used it would look like my ceiling was mouldy, not acceptable for a new house. Austral were very helpful and suggested I get the place I purchased it from to contact their supplier and see if they could exchange the problem sheets of ply.
Meanwhile with no more usable ply sheets, we worked on the blocking that goes behind the express joints in the main room. Whether it was experience or working in a larger room but the work seemed to be getting easier. I have also accepted that nothing is ever perfectly straight in building and that you need to measure the exact location of where each piece goes and cut it accordingly. When I first started the blocking I had some problems skew nailing it with the framing nailer, particularly pushing the nailer in far enough to fire and getting the right angle. Now I can do this with ease, even using my right or left hand.
 |
| Blocking for express joints in ceiling |
If necessary we can also move on to starting the internal stud walls since the Magnesium Oxide Board finally arrived. We are mostly working on site on weekends so originally booked in for the MgO board to be delivered on a weekday we would be on site. That day arrived and when it had not arrived and we had not heard about the delivery by mid afternoon I made some phone calls and found out that my instructions that the delivery had to be made on a particular date were not passed on to the transport company.
There were many subsequent phone calls as the delivery company could not deliver on weekends and could not deliver without us on sit as we had to unload it, so because of other commitments we had that meant we could not be on site on a weekday, our delivery of MgO Boards arrived four weeks after we had originally booked for its delivery.
The MgO sheets are 8mm and did not look too heavy, but looks were deceiving, I was only able to carry one sheet at a time together with another person. Further because the truck was side loading it could not go down the driveway, otherwise there would have been nowhere for it to unload. We started carrying sheets down the driveway one by one. This would have taken a long time as we have a battle axe block. Things were sped along when the delivery boys started using a trolley loaded with four sheets at a time to wheel the sheets to the end of the driveway, from where Ben and one of the delivery boys were able to carry them two at a time into the house.
 |
| MgO Boards stacked in the house |
Why did we use MgO boards - they are breathable, not damaged by water, dimensionally stable, do not harbour mould or mildew, are not eaten by termites, insects or vermin, are non toxic, and I had seen them used on Roger Bodley's hemp house in Tasmania, where they seemed to work well rendered as internal walls, which it the application I will be using them for.