Sunday, 17 May 2015

Final Approval

The final inspection on the house took place in late January and the Final Occupation Certificate came through in February. The Council inspector had no issue with the hemp walls or their finish. The final only outstanding issues following the inspection were providing a certificate in relation to the waterproofing and the confirmation that the drainage was carried out in accordance with the relevant standards. The certificates for these were easily provided and final approval came through.

The Occupation Certificate
On the same day as the final inspection, the measure up for the shower screen took place and a month later Alpine Glass came back and installed the semi frameless shower screen in the wave mosaic shower.

Shower with screen
Mosaic during construction
Although the house took longer to build than expected, it always seems to do so when you are owner building, I am pleased to have finished in the reasonable time frame of 2 1/2 years, considering that we were building on weekends 3 hours away from where we were living.

There are still a few minor things to finish, such as installing a piece of door trim I lost, putting the draft stopper on under the front door, a second coat of paint on the downpipes and installing the lawn edging, but these will get done slowly.

Meanwhile I get to keep building. I have made the fit out for the wardrobes from the recycled packing crate timber that had been sitting in the backyard for 2 1/2 years. I bought this timber for the formwork, from e-bay I got a semi trailer load of timber for $130 (including transport). The OSB was used for the formwork and the pine was stacked for later use.

Pine waiting to be reused
Thinner boards stacked
The timber had greyed and discoloured from being in the backyard. But a planer and a belt sander and a lot of time, brought it back to blond. The fit out is simple, but cost nothing but time and a box of batten screws, and it reused what would otherwise have been a waste product.

Wardrobe fit out
Third wardrobe fit out
The house was finished inside but with the front yard, which operates more like a back yard, covered in boards it still looked like a building site. Over Easter we prepared the yard for the turf by removing all the boards, removing the remaining weeds, levelling the yard and adding a layer of turf underlay (a mix of sand and composted chicken poo). The boards and plastic had been put down of the area we wanted to turf to kill the weeds.

The yard covered in boards
The week after Easter Sir Walter soft buffalo the turf arrived from Turfco in 1.5m long slabs. We installed a watering system under the lawn, linked up to the water tank, the lay out the lawn

Beautiful new lawn
In the instructions I have read turf needs to be rolled to flatten it to the ground and get rid of air gaps. I did not have a roller so improvised with some large pieces of hardwood attached to my feet. It was awkward, but walking back and forward I achieved the same result as if the lawn had been rolled. Rain over the previous week and a half had meant that the yard was waterlogged, stepping in certain places you would sink into the mud, but the hardwood rolling shoes got rid of these dips and flattened the lawn nicely. 

Lawn flattening shoes
Some finishing touches have been adding pictures to the wall. The pictures are Tenugi fabric and posters we got from our trip to Japan. I made the picture frames from Tassie Oak to match the door and window timber.


Gallery in the main room
Totoro and Koi pictures

Wednesday, 7 January 2015

Finishing Touches

The Christmas/New Year period should have been spent at the beach and lazing around, but there is no rest for the diligent owner builder so our time was divided between the beach and finishing lots of little building tasks, that all together ended up taking a long time.

Quick and easy was the replacement of the rusted handles on the flyscreens of the sliding doors. After less than a year the handles had started showing signs of rust and after a year and a half they were clearly unacceptable. I phoned up my window supplier, Rylock, expecting to have to explain in detail how the flyscreen door pulls had rusted in such a short time, but to my surprise they were really good about it. Rylock explained that their supplier had changes where they sourced the handles though without notifying Rylock and that the quality had changed. Rylock then sent me out new door pulls for all the flyscreen doors, and with a couple of screws the door pulls were replaced. The new ones look great and just as well as they have the company name on them in big letters.

Rusted door handles


New door handles
Another quick job that had been waiting a longtime to be done was installing the vent to the kitchen range hood. I had earlier painted a plastic gravity closing vent in a colour to match the render (I had used this paint to fix up minor blemishes in the joint between the ceiling and walls. I just used 38mm screws to hold the vent in place and screwed them straight into the hemp wall without using a pilot hole. It held tight no worries. But my tip for other screwing into hemp walls is to screw until tight but do not try to over tighten as this may cause the screw to loosen and come out.

Exhaust fan vent installed
The temporary door to the bathroom was replaced by the real one and lockable door handles (although or sliding doors they are really door pulls) were installed on both bathroom doors. The door trims were also added to each of the sliding doors to hide the track system at the top.

Lockable door handle

Trim to cover sliding door track
The remainder of the Colorbond angles were installed to cover any gaps between the walls and the eaves lining. And Colourbons cover strips were added to the mitred corners of the eaves lining.

Corner of eaves lining
Sikaflex Sikasil-C silicon in charcoal colour was used to fill the gaps between the polished concrete and the aluminium frame of the sliding doors. The gaps varied from very little up to about 8mm and varied along the length of the same sliding door, but once filled were hardly noticeable.

The big job for the holidays was cleaning the outside of the windows, something that had not been done since the windows wee installed. Although they had been covered with plastic during the rendering some of the windows and particularly the fly screens were filthy and quite difficult to clean.  Big thanks to my partner and my sister for dedicating part of their holiday to this task.

Next job was sealing the gaps between the windows and the render. In places the render came right up to the window frame but in others there was a substantial gap up to 10mm and over some of the sliding doors even more. I used sandstone coloured Sikaflex Pro polyurethane sealant to fill the gap. Where the gaps were large I pressed foam backing rod into the gaps before applying the sealant. This was a much bigger and more time consuming job than I had expected. It was also pretty messy. I am getting better but there is still room for me to improve my sealant application. Big thanks to my plumber, Len, for putting me onto a produce called Silicone Clean up by Red Back, it did what it says and cleaned up that last little bit of excess silicone that is usually hard to remove.

Putting in the foam backing rod

Sealant around windows
About a week or two before Christmas there had been a week of heavy rain at Culburra. We noticed some unusual black marks on the southern side of a number of walls. the marks were less than 1m off the ground and we assumed that it was dirt splashed up from the gutters overflowing in heavy rain. But when I tried to wash it off it would not wash off and then I noticed some of the same marks on the upper outside wall of the front bedroom this wall is the only section on the house without eaves and although it faces south east at this time of year it does get some sun and gets plenty of ventilation. Could this be mould? I though that the lime in the render would prevent any mould. We are yet to work out what the marks are and what has caused them. It is just a little distressing to have such problems on a house that is not quite finished.

Close up of southern wall of main room

Patch of black marks

Black marks on upper wall section

A few more cracks have also appeared in the render. Interestingly the places the render has cracked do not coincide with areas where there was cracking in the hemp walls or the walls were less well built. The high level cracks are most likely caused by a change in the thickness of the hemp wall. The roof beams were cut down at the eaves so that they were not so thick, but this meant on the inside we could only hemp up to the bottom of the full beams but on the outside we hand to hemp another half a beam higher to reach to bottom of the cut down beams. My belief is that this change is a cause of the cracking and if this is the case the hemp wall must also have cracked to cause the render to crack, but the hemp walls had more than 12 months to dry out before being rendered. Another problem I am trying to find the cause of.

Cracks in render just under eaves
More cracks in render
 On the up side we now have a beautiful house to enjoy. Next project building the shed, using all the left over building materials.


Finished house

With decks to enjoy


Tuesday, 6 January 2015

Rendering Magnesium Oxide Board

The laundry and second bathroom had been left unrendered as these rooms had tiled floors and did not need to be done for the polished concrete floor to be finished. Further delay was caused as I had not finished the mosaic tiling for the bathroom. With Christmas coming up and more people staying in the house, it was time to finish the second bathroom.

I had been unhappy with the finish of the AHMC render mix on the MgO board walls and the renderers had found it very hard to get the render to stick to the MgO walls. I raised my render on MgO issues with some other hemp builders, sought their assistance and received several suggestions. I had also seen some straight sand lime renders used on strawbale houses and with all this I undertook my own rendering experiments.

Freshly done render tests on MgO Board
I tried three different mixes applied using two different methods. The top row from left to right are (1) standard AHMC hemp render mix, (2) half AHMC hemp render mix half lime/sand mix and (3) straight lime sand. The lime/sand mix replaced the same volume of AHMC render with straight builders lime. The bottom row uses the same mixes but with the addition of a coat of Bondcrete on the MgO board left to go tacky. The Bondcrete did not work at all and in fact it was harder to get the render to adhere to this mix than to the untreated MgO board.

Dry render tests on MgO board

(1) standard AHMC hemp render mix

(2) half AHMC hemp render mix, half sand/lime

(3) sand/lime
 I had a bit of mix (2) and did some extra sections at either end of my test MgO board. I have some disclaimers to this test as firstly I am not a good renderer, secondly the test was carried out on a hot day and thirdly the number (3) mix had too much lime to sand and should have had more sand, the replacement of AHMC mix with straight lime should have been done by weight rather than volume as the AHMC mix had hemp fibres in to which are very light but bulky.

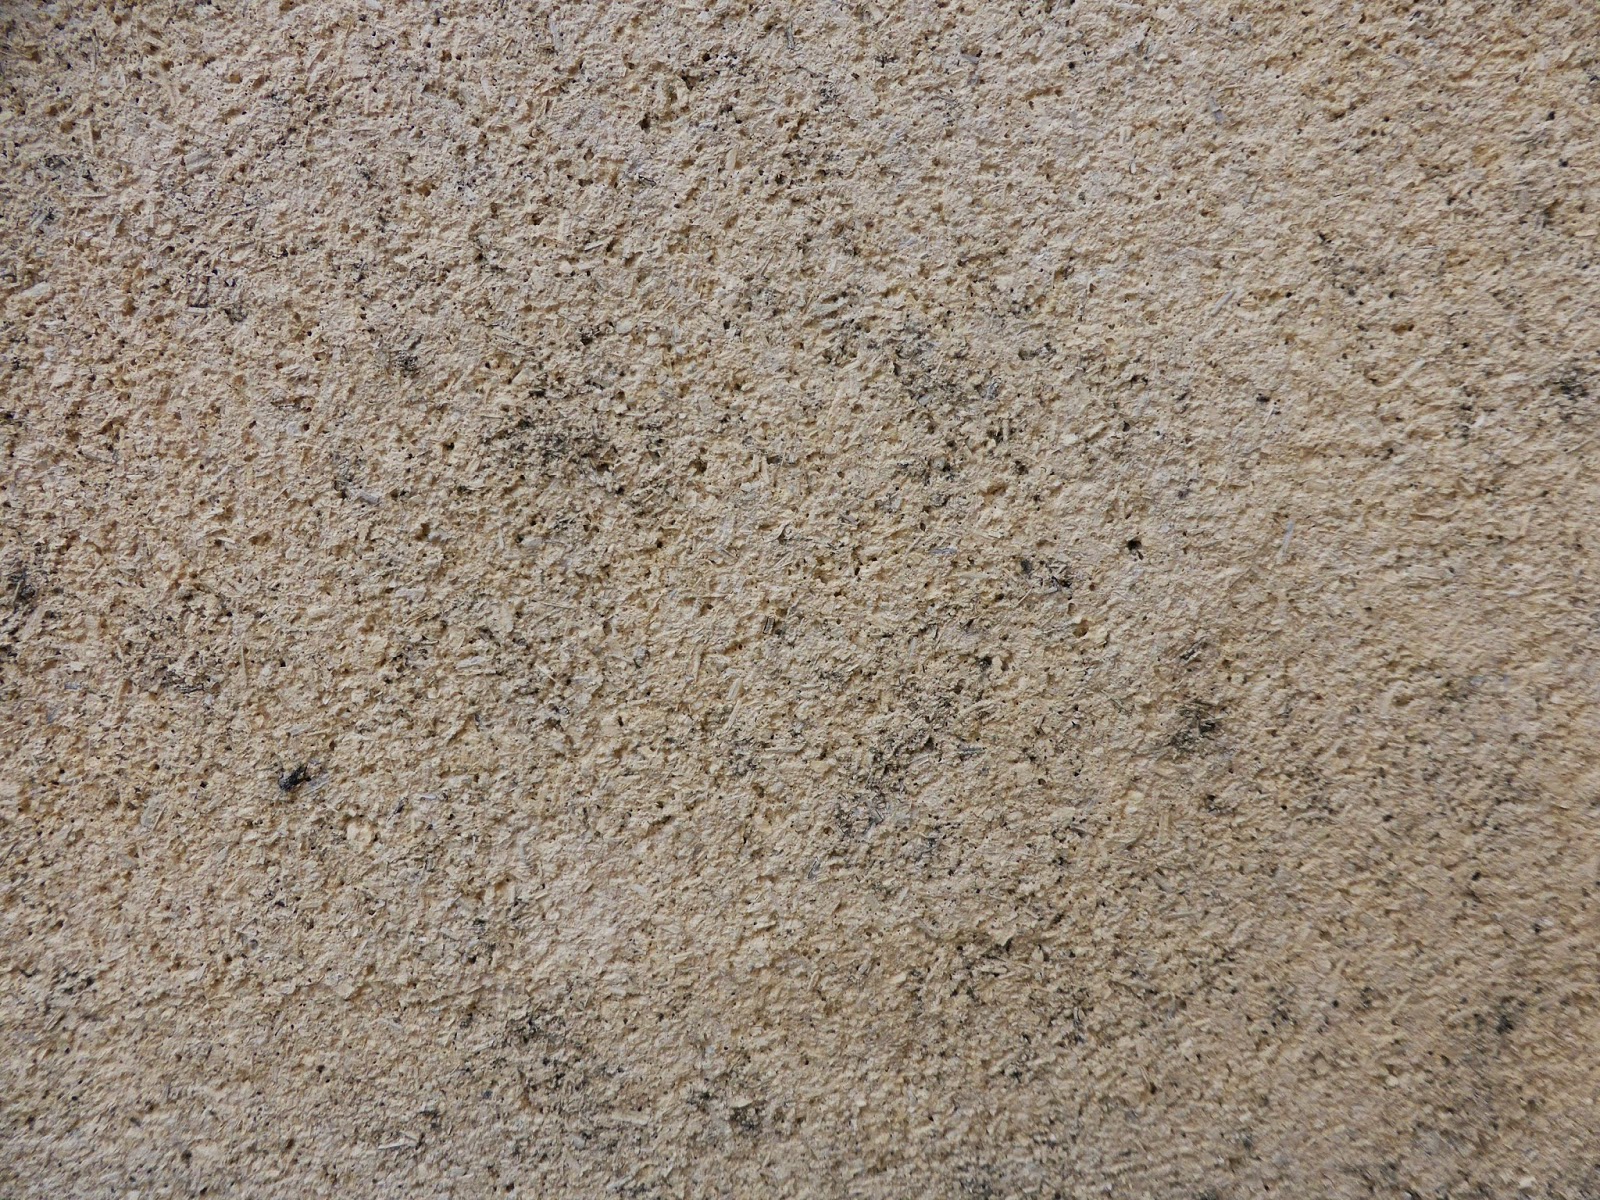
Mix number (1), the standard AHMC mix, was still difficult to adhere to the MgO Board and as on the MgO board the mix can not press into the wall like it can with a hemp wall, the hemp fibres came to the surface and stuck out too much for my liking. Mix number (2), the half AHMC half sand/lime mix was easier to spread and adhere to the MgO Board, it also produced a smoother surface. Mix number (3) the sand/lime, mix cracked badly when  applied at the same thickness as the other mixes and was hard to apply in a single 8-10mm coat. I hoped to be able to get away with using a single coat to save labour and hence cost.

John, my first renderer, came around and looked at the tests. He agreed that the second mix looked best but we agreed to use a little less lime in the sand/lime mix. The mix we used was two bags of 22.35kg of river sand (this had been measured out earlier for the render and we had some measured out bags left over), one 9kg bag of AHMC hemp render mix, half a 9 litre bucket of builders lime (so about 4 1/2 litres) and 160g of yellow oxide (this was double the amount used for a single AHMC mix, since in effect we were making a double mix).

The new double size mix of render was mixed up in our pan mixer (mortar mixer) that we had used to make the wall mixes. Previously we had used a standard cement mixer for the render as out pan mixer was out on loan to another hemp builder. The pan mixer was a bit slower than a cement mixer but did a good job mixing the render and was much less dusty.

The amended render mix adhered to the MgO board much better and easier to move around on the wall. The MgO was still not the greatest substrate to render on but it was now much more achievable. A smoother more consistent finish was also able to be achieved. The only issue was that the walls were a little yellower than expected. I really should have tested the actual mix we used first rather than just relying on my test. I assumed it would be ok as my test used a proportional amount of oxide, but as we now used less lime the colour became more intense. The good thing is that the family liked the more intense colour and it is a nice bright sunny yellow in these small south facing rooms.

Amended render on MgO Board

Rendering the laundry
The bathroom also had one hemp wall. The amended render went on this wall really well. When John started rendering this wall I wondered why he finished so quickly, it was because even with the amended mix it was still much easier to to render a hemp wall than a MgO wall.

The last walls in the bathroom were rendered between Christmas and New Year. It was great to be able to hang the bathroom mirror. When we were building the walls we put an extra nogging in the frame right where the mirror had to be hung and thankfully we remembered where it had to go and the screws hit the nogging.

Bathroom mirror on wall

Freshly rendered bathroom wall
The only disappointing news was that we were one bag of render short and one wall in the laundry is still unrendered. This will be fixed up in  the new year. While disappointing it was better to leave this wall than try and do a too thin coat of render and have it crack or not work well.

Decks Finished

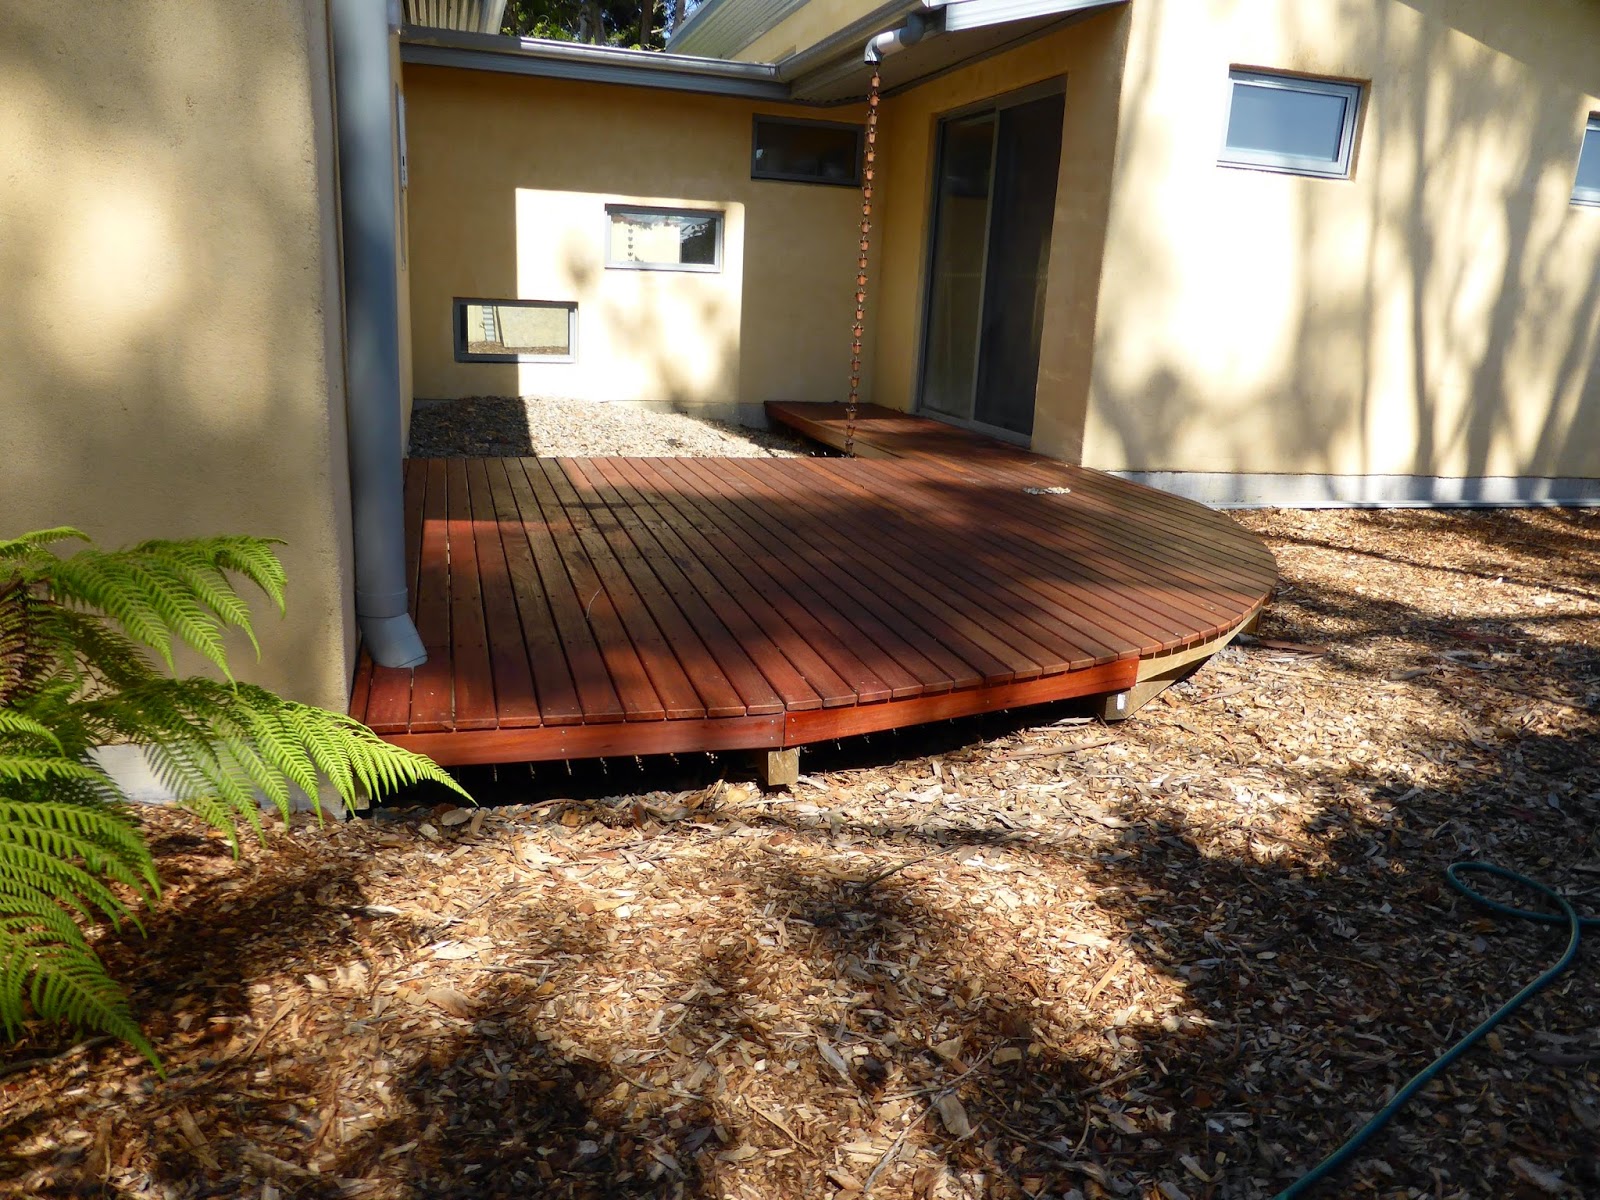
With three decks in five separate sections covering 56 square meters it took a while to complete them. As with any building work we got more efficient and better the more we did. We had done the straight section of the curved deck and the whole of the L-shaped deck outside the hallway and rear bedroom.

L-shaped deck with two coats of decking oil
Boards laid out for curved deck

The next deck to be tackled was the two straight sections of the front deck, outside the front door and front bedroom. Before this was sufficient decking was temporarily laid out to complete the curved deck in single lengths so that we did not have to join any boards. As no power tools were required this was a job that could be performed in the cool of the evening, out of the hot summer sun.

The thin sections of the front deck posed no difficulty was their spacing was the same as the deck outside the back bedroom, so we know how many boards to use. As before we oiled the underside and sides of the decking with Intergrain natural oil before we laid them. Pieces of the iron bark decking were bowed and twisted and needed persuading into position with the assistance of a crowbar.

Freshly oiled deck outside front bedroom

Deck outside front door

Deck wrapping around corner
As we had completed the first part of the deck together, my friend Martin, came back down to Culburra to finish the curved deck. Cutting the boards around the sliding doors was easy, having already done it for five other sets of doors however, for this deck we had a down pipe protruding through the deck. Extra packers at joist level had been attached to support the cut out and with a paper template made up the boards were cut out neatly with a jig saw to fit snugly around the down pipe.

The next challenge was that the deck spanned between two sections of the house and as the case often is with building the two sections of the house were not perfectly parallel. A little bit of measuring was required and some additional spacing on one end of the boards and slightly tighter spacing on the other side of the boards fixed this problem. We worked out from the rear door of the main room toward the decking we had completed earlier. Having roughly laid the boards out it was difficult due to the bows and twists in the boards to be able to tell if they would fit neatly of the spacing would have to be adjusted to completed the deck in full width boards.

We were using 3.2mm window wedges as our spacers between the decking boards. When we only had six boards left we jammed the spacers in between the boards and used them and the boards themselves to straighten out any bows. With exceptional luck the boards all fitted perfectly, the last spacer just being persuaded into place with a hammer.

Curved deck laid in single lengths

The next challenge was to trim the boards to the curve. On the plans the curve was measures from a centre point 900mm in from the top and side of the deck however one side of the deck had been made longer to fit a full board along the door and had also been made slightly wider. We also made the horrible discovery that while all the boards had been allowed to hand over the joists to allow for some cut off, in two spots the boards were a little short. This meant that after some time trying to locate a suitable centre point and radius we came to the conclusion that the deck would be a complex curve consisting of several centres and radii. Even this proved difficult to produce a smooth curve. The solution came in the use of a garden hose, just like a flexible ruler, which with together with some curves drawn using string was able to produce a smooth curve which to the eye looked like one curve.

This was cut off with the jig saw. The cut was a little rough and lumpy in places, but all this was smoothed out later with the belt sander which was also used the take off the corners of the cut boards to give the pencil round look.

Rough cut curve

Edges all smoothed out

This left only the large front deck to complete. My sister helped me get the large deck ready, laying out the protect-a-deck black plastic over the joists and stapling it down. Although my sister has no building she is good at maths and this proved very useful as once again in the cool of the evening (and into the night) we laid out the boards for the large deck. This was a bit like a giant game of Tetris as two or three boards had to be joined to form each length. Each of the boards had to be joined over a joist and as the two ends of the deck were sloping each row was not identical. We were a bit short of timber and so wanted to make the most efficient use of each board, minimising offcuts.

Protect-a-deck stapled in place

Decking boards laid out
With a bit more ironbark decking ordered and delivered from DIY Timbers in Bomaderry another weekend was spent cutting the boards so that they joined precisely over a joist and oiling the tops and bottoms so that they just had to be screwed down. We only had just enough timber to finish the deck, with nothing but short scraps left over.

Decking boards cut and ready to be screwed down
On the weekend before Christmas I put in 1,800 stainless steel decking screws and finished the deck. I estimated that the deck would be 42 boards wide. I attached the first two boards against the house and the last board on the edge then measured out the distance of every fifth board. The plan was to measure out and attach every fifth board then evenly space the remaining four boards in between. I put in half the length of the first fifth board, then decided it would be quicker to do the fifth and tenth board at the same time. I then abandoned this as too time consuming and because the inside and outside boards were parallel I measured the distance for and pit in the middle board. I then used window wedges as spacers to space out the boards in between, by jamming the boards between the spacers the pressure from the adjoining boards corrected any bows in the wood. This was much more efficient and each half width of deck fitted quite well with only a few sections being a little tight as the newer timber was fractionally wider, presumably it had not shrunk as much. After a day and a half I was three quarters finished.

Window wedges spacing out the decking boards

Three quarters finished
The last quarter of the deck was only attached by one screw as I knew I would run out of stainless steel decking screws. A quick trip to the nearby Culburra Home hardware, who had a box of 250 stainless steel decking screws in just the right size on special, and I put in the second screws to finish the deck. I then used a string line to mark off the end and cut it with a circular saw, the cut edges were then rounded off with the belt sander. We then attached a cover fascia board to the end joist to make the deck look nice.

End of deck cut off

Fascia board ready to attach
Half way through the second coat of decking oil we ran out, having used 10 litres of oil on the deck. Finishing touches were then done by adding a fascia to the curved deck curved deck using the left over offcuts. The fascia was made up of several pieces to follow the joists, but we ran out of timber with two 500mm pieces left to attach.

Finished deck with second coat of oil to half

Fascia added to most of curved deck
All up we used 4,650 decking screws. We broke five drill bits. Thankfully the Smart-Bit combined countersink and drill bit comes with three replacement drill bits and after we had broken the first two drill bits I ordered a second one from Fasteners Galore just in case. As it turned out the countersink had become blunt after so many holes and for the last 1,500 screws I used the second Smart bit which was sharper and was therefore quicker and less effort. My Makita cordless drill and impact driver were fantastic. They each took the same battery and I had a third spare battery so I could have one on to charge while using the other two. With almost continuous used over the weekend I only once had two batteries needing charging at the same time and this was a good excuse for a break.

Finished deck in use